Tuesday, September 18, 2012

hello?


so... seriously, is anyone still out there?

remember how i was going to be awesome at updating my blog over the summer? fail!

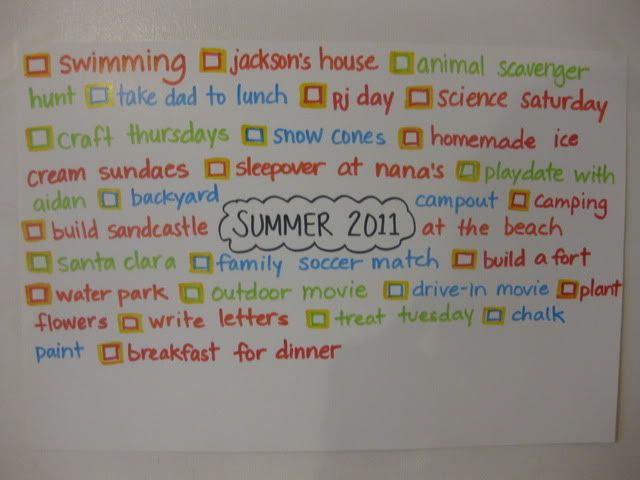
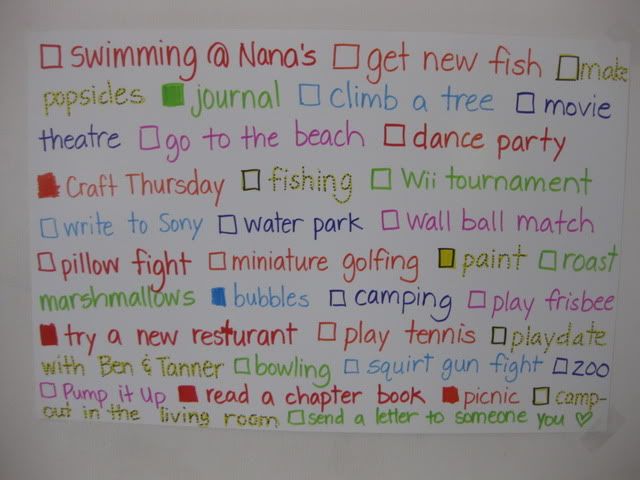
but i am still here and...  i have a lot to catch you up on!

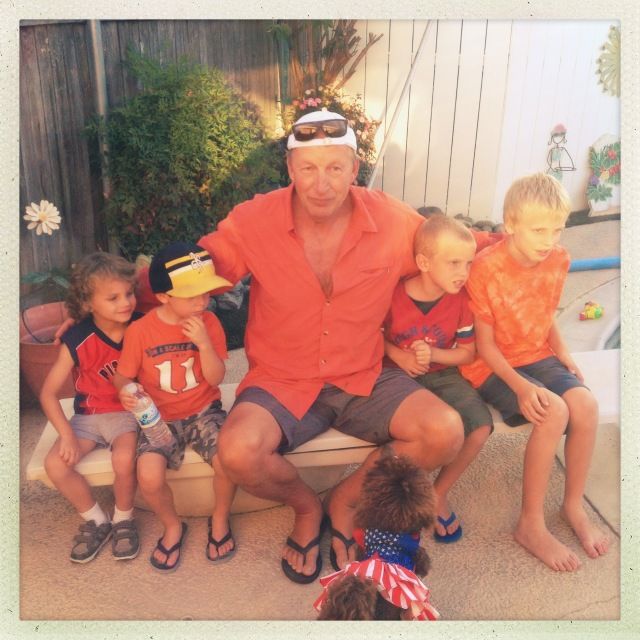
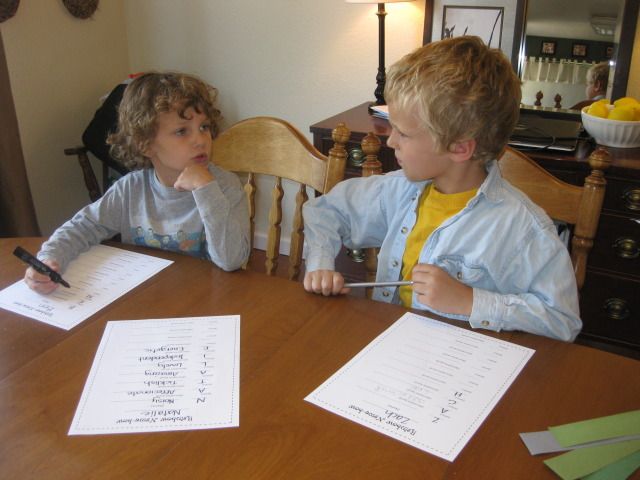
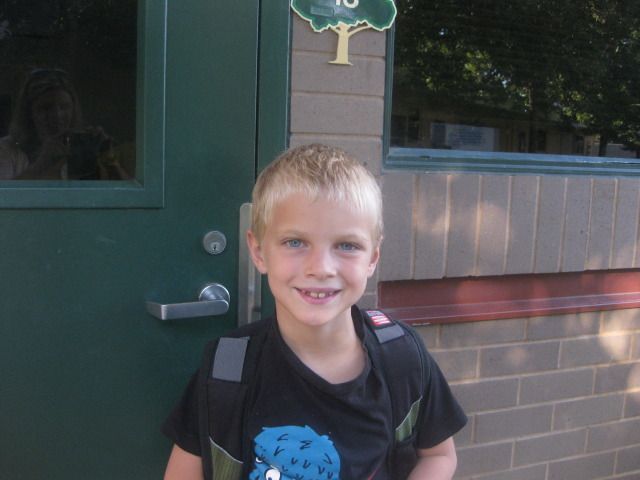
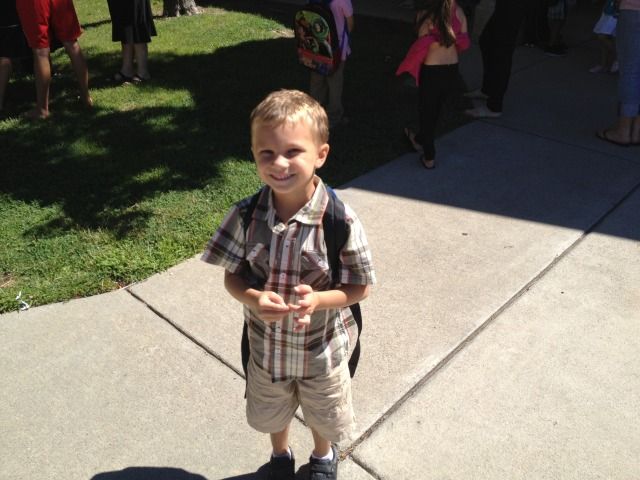
first of all, summer break ended, oh about six weeks ago. i am now the mother of a middle schooler, 3rd grader, and kindergartener.

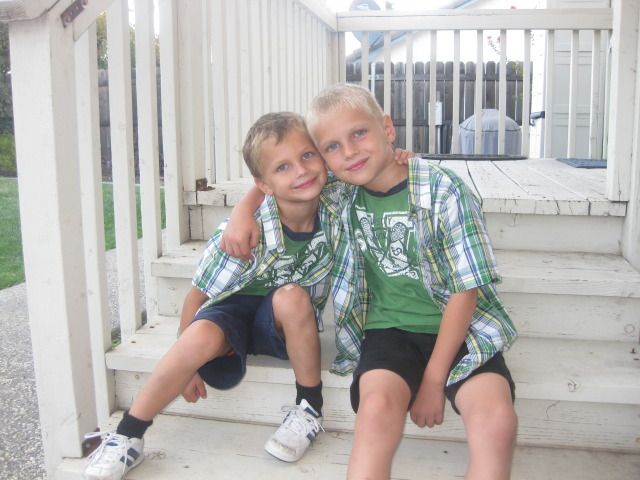
here are the boys on the first day of school:

Photobucket

Photobucket

Photobucket

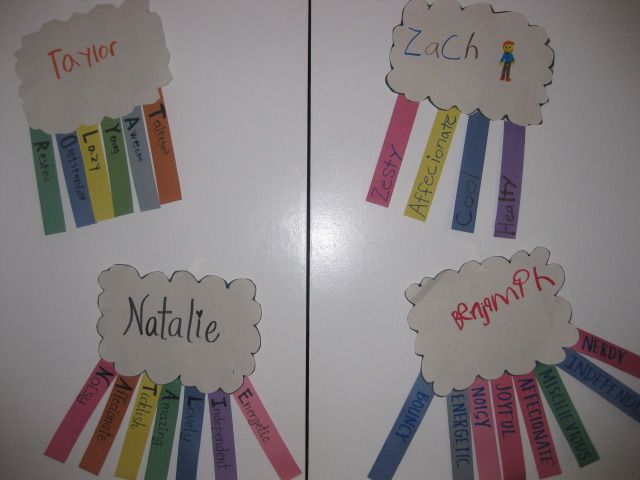
how does that happen?! it's like you blink and they grow up. i want it to slow down. a lot! i am liking this stage very much. we have been blessed with a wonderful group of teachers this year, who are caring for and nurturing our kids for most of the day. that is such a relief to me. and then there is sweet little nat, who is loved on all day by her nana. how thankful i am for that! the next best thing to mom and dad are grandmas and grandpas.

Photobucket

just about the same time school started, we moved. like, we live in a totally different house in a totally different neighborhood now! it was a little bit sudden, but kind of not, because we have been looking for a while. but once we found something, it went really fast and before we knew it, we were moved out of the old house and haven't looked back. we love, love, love our new place. God certainly knew what we needed and the timing was perfect. of course.


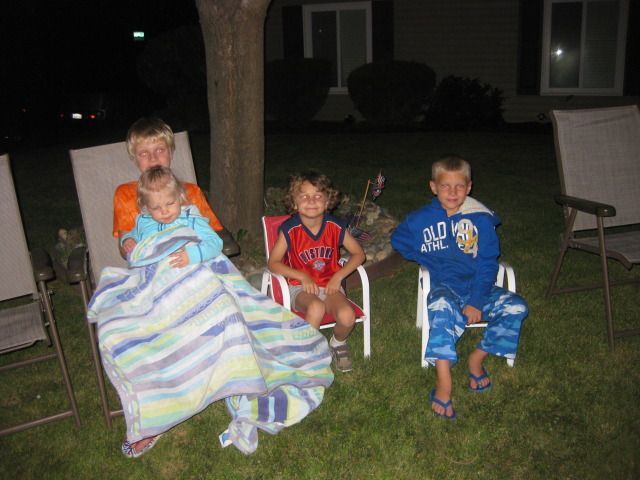
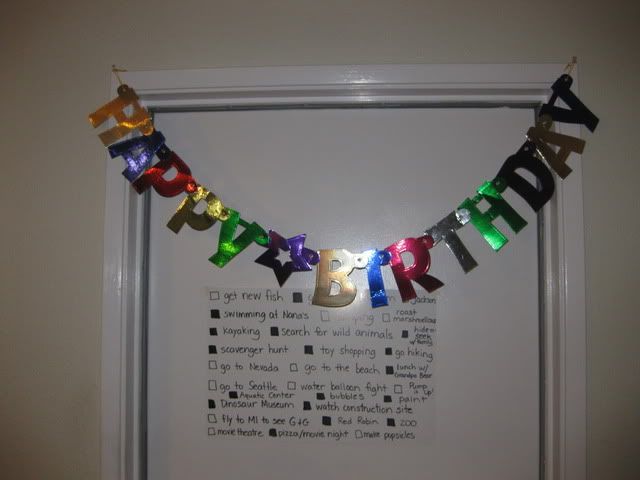
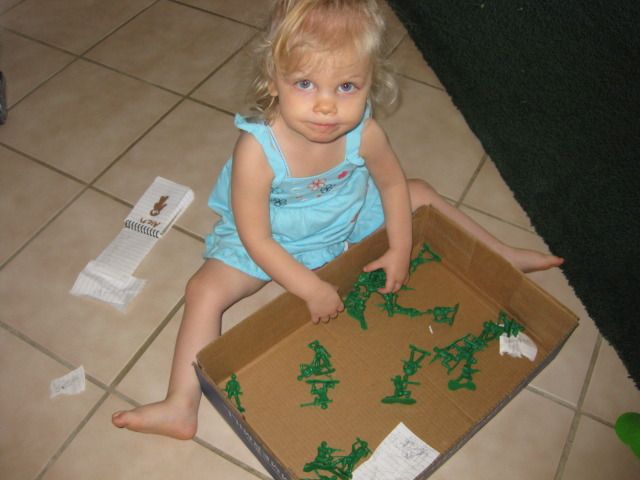
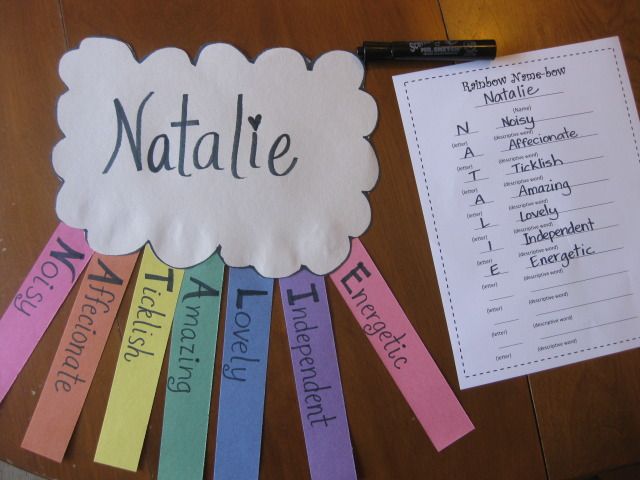
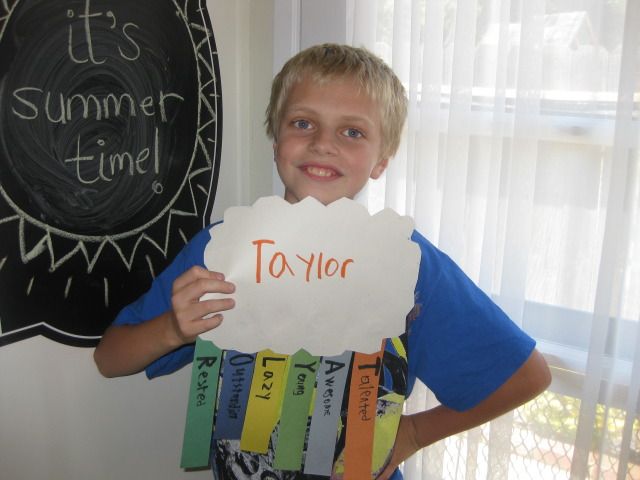
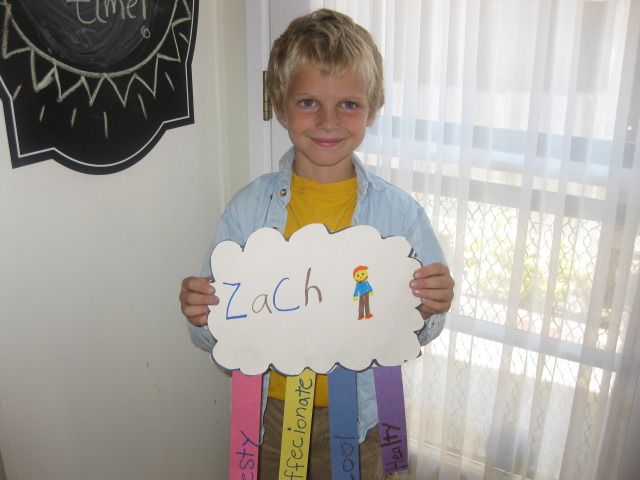
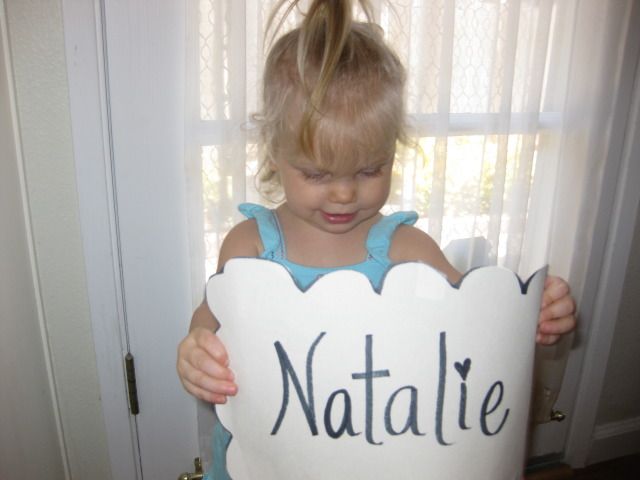
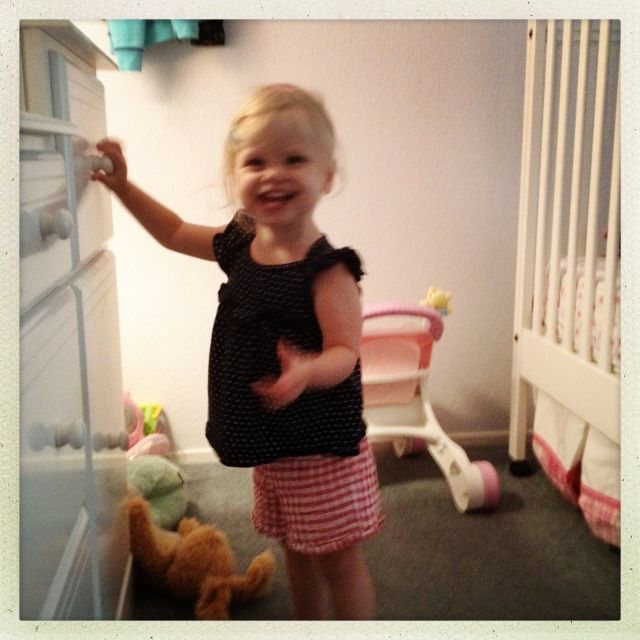
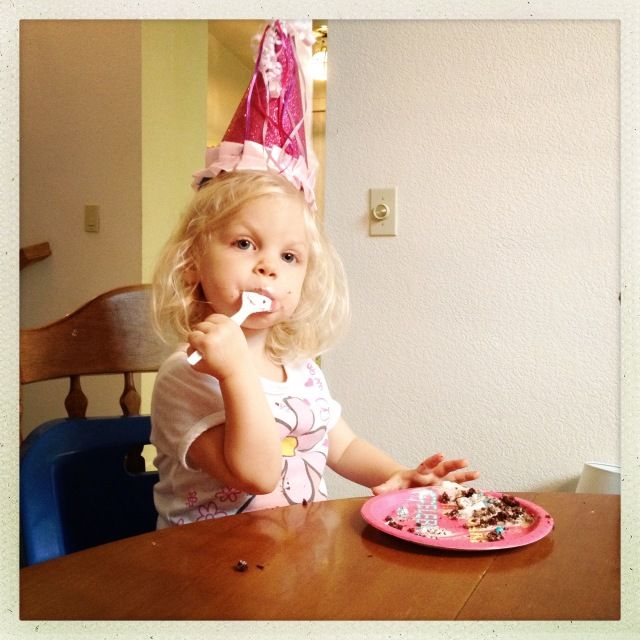
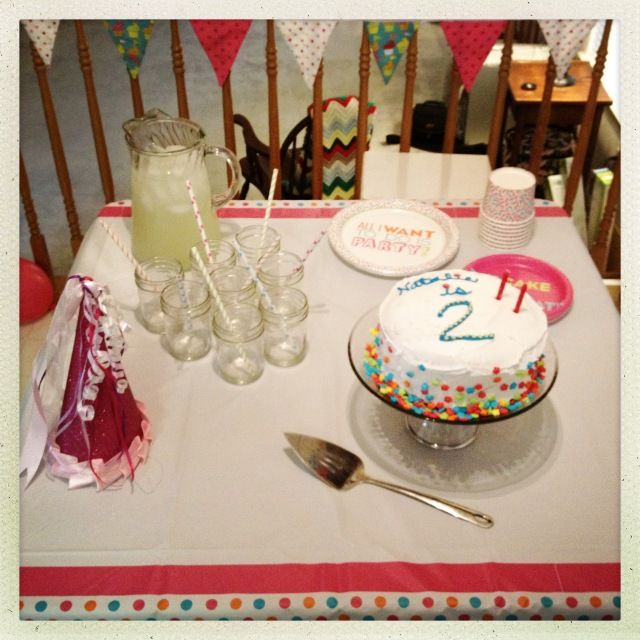
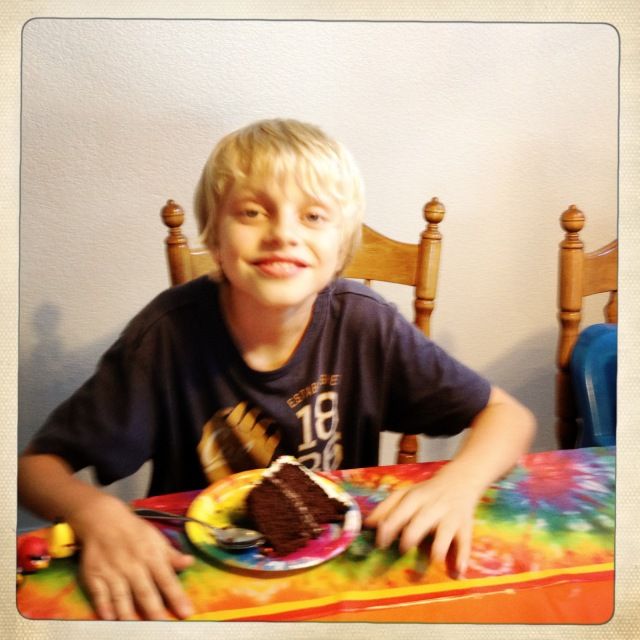
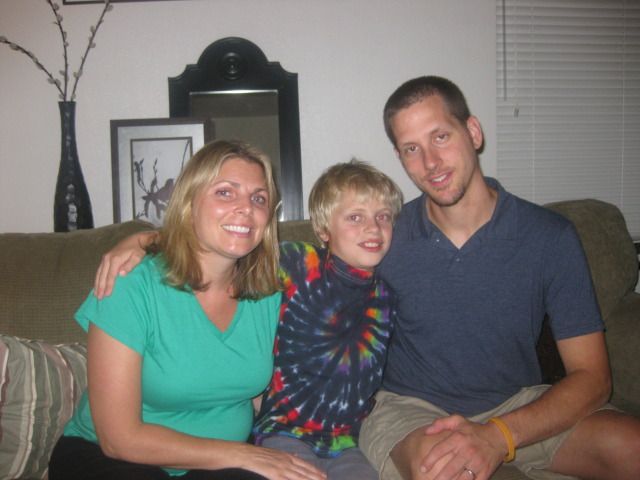
also at that same time sweet natalie turned two. she had the official first birthday in our new place. two weeks later taylor turned 11 and now zachary is counting down the days until he turns 8. see... time goes so fast. my babies aren't babies anymore.

the birthday girl and young man:

Photobucket

Photobucket

Photobucket

Photobucket

another new thing for us... we are now a soccer family. and i am totally that parent shouting on the sidelines. i surprise myself sometimes, because i prefer to not draw attention to myself, but i am so excited that i cannot contain my enthusiasm. both zach and ben are on soccer teams this year and it's really been fun for the whole family. they will ask if they can go out to practice and pretty soon, we are all out there kicking the ball around together. love those times.

Photobucket

so things are good right now. the last six weeks have been busy, but enjoyably so. i'm feel extremely grateful for this time, because i know it's not always easy.

Photobucket

Photobucket

Photobucket

what are you feeling grateful for right now?

Tuesday, July 17, 2012

could it be the world's best pencil sharpener?

so this is not a treat tuesday post. sorry about that.

i've sort of been in a funk today, maybe because i'll be 35 for ... oh, just another 18 hours or so. boo.

to take my mind off my birthday i was doing a little school work today.

i'm sure there are teachers out there gasping, because school doesn't officially start for another 21 days.

but let me say that again. 21 days!!!

this little tidbit gives me something else to freak out about besides turning 36, which seems awfully close to 40, if you ask me.

so... i was conducting some research on pinterest and my favorite teaching blogs and i came across this...


this was not our first introduction.

once again i was filled with hope and excitement that maybe there is a pencil sharpener out there that really works.

you see, if you don't sharpen a lot of pencils, you probably won't understand or maybe you can't even imagine just how bad it is.

first of all, the classroom pencil sharpener, if you are lucky enough to have one... is TERRIBLE. students and teachers alike can stand there all day sharpening down to a nub and never getting a nice and pointy (or even useable) pencil. it's ridiculous. and it makes your fingers red and blistery if heaven forbid you have to sharpen more than one pencil.

i have avoided using the classroom pencil sharpener (when i had one!) for the 10 years i have been teaching by buying my own electric pencil sharpeners. these sweet gadgets can be pricey and loud and bulky and they burn up and decide not to work anymore and... my biggest pet peeve about them... they are hit or miss. when sharpening a brand new box of pencils i may not get even 50% sharpened without the lead breaking and falling out. for years i have thought it was because pencils are being cheaply made. but the above pencil sharpener promises that won't happen, stating it's the electric pencil sharpen that pulls to hard at the lead breaking it from within. well, that alone has me doing cartwheels, because it is extremely annoying to spend 30 minutes trying to sharpen a class set of pencils, only to have 7 that will actually be able to do their job.

and let's face it people, we sharpen A LOT of pencils in first grade. have you ever seen a first grader's pencil? most have black and brown smudgies from blacktop hands and then there are the bite marks and unidentified crusties along the wooden ridges. top all of that off with partially or entirely eaten erasers and metal rings. yes, first grade pencils are NASTY!

so why am i posting about my pencil sharpening woes and the health hazards of handling old first grade pencils?

i am hoping to win one of those sweet little machines of awesomeness in the photo above and by blogging about it, i get 5 entries. :)

you can enter to win one here.

and if you enter and win and don't want the pencil sharpener for yourself, i know of the perfect first grade classroom for it!

so... will you enter to win?

Wednesday, July 11, 2012

4th of july

as i mentioned earlier this week, the 4th is my mom's birthday. on this day we celebrate our country... and my mom!  we gather together for swimming, bbq, birthday celebrations, and fireworks. it's always so much fun spending the day with our family and friends.

Photobucket

Photobucket

Photobucket

Photobucket
Photobucket

Photobucket

Photobucket

i hope you all had a happy 4th of july, too! do you have any traditions on this special day?

Tuesday, July 10, 2012

treat tuesday #4: homemade corn dogs

while this is not a sweet treat, i think corn dogs totally qualify as a treat!

one of my favorite memories growing up was going to denio's on a sunny saturday morning, spending my allowance on trinkets, betty boop t-shirts, and paint splattered sunglasses. i stopped only to re-fuel with a heavily battered, deep fried corn dog. maybe even two. (gasp!)

these days eating something so greasy would leave me feeling guilty and well, sick.

when i came across this recipe in my clean eating magazine, i was super excited. was it possible that a corn dog could actually be clean, somewhat healthy, and taste good, too? i had to find out! this week's treat is homemade corn dogs.

ingredients:
- 1 1/2 cups stone-ground whole-grain corn meal
- 1 1/2 cups white whole-wheat flour
- 3 tbsp organic evaporated cane juice
- 2 tsp baking powder
- 1/4 tsp baking soda
- 1 tsp onion powder
- 1/2 tsp ground cayenne pepper--gives it a little bite, so use less or eliminate if you don't like spicy!
- 4tbsp organic unsalted butter, frozen
- 1 cup low-fat buttermilk
- 10 all-natural uncured nitrite-free beef hot dogs

you will also need 10 wooden skewers, soaked in water for 30 minutes

step 1: add dry ingredients to a large mixing bowl

 Photobucket

step 2: grate butter into dry ingredients, stirring occasionally so the butter doesn't clump. oops, i didn't do that--they turned out fine!

Photobucket

step 3: add the wet ingredients and mix until a dough ball has formed

step 4: divide dough ball into two and freeze for 10 minutes. while dough is in the freezer, insert sticks into one end of each hot dog

Photobucket


step 5: roll one of the dough balls out and cut into pieces that will fit around the individual dogs--you will repeat this step many, many times!

Photobucket


step 6: wrap the dough strip around the dog

Photobucket

Photobucket

Photobucket

step 7: bake corn dogs at 400 degrees for 14-16 minutes--bottoms will be golden brown and dough cooked through

Photobucket

step 8: enjoy! i served my dogs with a cabbage salad and cantelope slices

Photobucket

the end result? a pretty dog-gone good meal!

Monday, July 9, 2012

summer fun and treat tuesday #3: 4th of july cake

we've been happily enjoying our summer. no school, nice weather, swimming, and delicious food. we LOVE eating!

i've been sort of bad at organizing crafts. i had one all lined up two weeks ago, but i was mad at the kids for being totally rotten in the store, so we didn't craft. then last week... well, i don't know what my excuse is. we were recovering from a fun 4th? i honestly don't remember last thursday!

i have been making treats though. so today i will post about that, even though it's not a tuesday (although i did make this treat on a tuesday!) i made this treat for america's and my mom's birthday. it's a festive 4th of july cake. i've been really making a strong effort to eat clean this summer, so this cake is (mostly) clean. it would be completely clean if i hadn't added the food dyes to it.

it was scrumptious.

i found the recipe at one of my favorite sites for clean eating recipes, the gracious pantry. seriously, this is my go-to site. this gal has taken tried and true food staples and transformed them into healthier, clean versions. i love it, because it takes all the guesswork out of trying to come up with your own clean version of a family favorite. and the best part--everything is yummy. i have yet to try a recipe i didn't like. so check out thegraciouspantry.com for some clean eating tips and recipe ideas, just like the 4th of july cake i made below (it's listed under canada day cake on her website).

Photobucket
between each layer there was whipped cream and fresh sliced strawberries

Photobucket
since i made the cake the day before, i used bamboo skewers to keep the layers from sliding. anyone remember my new year's cake fiasco?!

Photobucket
help is easy to come by when you are frosting a cake and need to clean the spatula

Photobucket
fresh strawberries and blueberries not only tasted great, but they helped make this cake look patriotic, too

Photobucket
the finished cake... the star deco was pinterest inspired, of course

Photobucket
guests enjoyed the surprise of the red, white, and blue layers... although taylor insisted they were red, yellow, and blue

visit the gracious pantry for this recipe and many more!


Tuesday, June 26, 2012

summer 2012: treat tuesday #2, peach cobbler with almond biscuits

i am a big fan of the clean eating cook books and magazines. the july 2012 magazine has been my favorite so far. the headliner is "savor summer with american cookout classics." can you say yum-o?

Photobucket

my kids have been begging for peaches. since trader joe's sells a BIG box of 'em and there just so happened to be a delicious sounding recipe in my new clean eating magazine, i was inspired to make this treat...

Peach Cobbler with Almond Biscuits
(from Clean Eating Magazine, July 2012)

INGREDIENTS:
- 6 firm peaches (peeled, pitted, and cut into 1/2 in. thick wedges)
- 5 tbsp organic evaporated cane juice, divided
-- 2 tsp potato starch
- 1/4 tsp pure almond extract
- 3/4 cup white whole-wheat flour, plus about 2 tbsp for shaping biscuits
- 1/4 cup almond meal
- 1 tsp baking powder
- 1/4 tsp sea salt
- 3 1/2 tbsp organic unsalted butter, cold and cut into 1/3 in. cubes
- 1/4 cup 2% milk, plus 1 tbsp for top of biscuits
- 1/2 tbsp sliced raw unsalted almonds

Photobucket

INSTRUCTIONS:
1. Preheat oven to 425. In a large bowl, combine peaches, 3 tbsp cane juice, potato starch, and almond extract. Transfer to an 8-in. baking dish and bake for 20 min. (peaches should still be slightly firm).

Photobucket

2. While peaches are baking, prepare biscuits. In a separate large bowl, whisk flour, almond meal, baking powder, salt, and remaining cane juice. With a pastry blender or two forks, cut in butter. Add 1/4 cup of milk and stir until just moistened and a firm dough forms.

Photobucket

3. Turn dough onto a lightly floured surface and knead briefly until dough just forms a ball. Divide into 6 equal rounds and flatten each into a 2 1/2 in. wide, 1/2 in. thick disk. (I used a star shaped cookie cutter for fun!) Place dough rounds in a single layer over peaches (it's okay if they touch). Lightly brush tops with remaining 1 tbsp of milk. Top with almonds, gently pressing into dough to adhere. ( I skipped on the almonds). Bake for 17-20 min., until biscuits are golden brown and peach mixture is bubbling. Let cool for 10 min. Serve warm.

Photobucket
 
Photobucket
before

Photobucket
after

we are saving our cobbler for dessert tonight, so i don't have any raving reviews yet. but if i were to judge how it tastes based on how it looks and smells, i'd say this is a winner. a perfect summer pairing for a savory summer cookout (dinner just so happens to be beef sirloin & bell pepper kebabs, also from the magazine. :)

happy treat tuesday!

Monday, June 25, 2012

summer list 2012

we've been working on our summer list for about two weeks now. haven't done too much yet, but it's always fun to check something off. i find it gives us a sense of purpose to our summer vacation. we are a family--the summer list serves as a guide for spending some intentional and quality time together. i love that!

this year's list doesn't look a whole lot different from previous lists. but that's okay. my kids know what they like! maybe they will carry on the tradition of craft thursdays and treat tuesdays with their own little ones someday.

Photobucket
2012


Photobucket
2010

 Photobucket

do you have a summer list?  
what are you most looking forward to this summer?

Thursday, June 21, 2012

summer 2012: craft thursday #1, name-bow rainbow

happy thursday everyone!

today's craft was discovered on another one of my favorite websites, teachers pay teachers. if you are a teacher or a parent looking for supplemental educational materials and you have not yet checked this site out, summer is the perfect time! you can find inexpensive lessons, units, art projects... you name it, all created by someone else and ready to go. i love that you are buying only what you need, you have as any downloads as you want, most everything is based on common core, and stuff is super cute! i've been very happy with all twenty something of my purchases.

back to our craft for today. i saw name-bow rainbow (or rainbow name-bow, if you prefer) on teachers pay teachers. it cost $1.50, but with a little elbow grease (as in creating your own cloud tracer and acrostic name worksheet) the idea could easily be duplicated without purchasing the project. but i will give credit where credit is due. this was not my original idea. it came from reagan turnstall at turnstall's teaching tidbits. here's the link to her teachers pay teachers activity page if you are interested in buying this activity or if you want to check out her other projects for sale.

you will need: colorful construction paper cut into strips, cloud templates, markers, gluestick

Photobucket

it's not needed, but you may want: a worksheet for listing adjectives (descriptive words). i made this one using microsoft word.

Photobucket

the idea of name-bow rainbow is simple. students (the lesson actually suggests having parents do this) come up with an adjective that starts with each letter of their first name. each adjective should describe the child in some way. this is called an acrostic poem. for younger kids this can be the most difficult part, which is probably why it was suggested to have parents do this part. with a little help, all three boys were able to come up with words for each letter of their name. i googled a list of adjectives listed in alphabetical order and had this open on my desktop as a resource for when we were all stuck. we learned there are not many "nice" adjectives for the letter n. ha! the kids filled out a little worksheet (see above) to help them keep track of and organize their adjectives.


here is a photo of the work area all set up. not much to it, but in my experience, crafting is happier when everything is ready to go.

Photobucket

before we began, i explained what the kids would be doing and showed them a sample, then they went to work. i walked around the table and helped as needed. thankfully my cutie pie natalie kept herself busy with other fun activities, like army men in a box! 

Photobucket

Photobucket

first, the kids brainstormed and decided upon an adjective for each letter of their first name. it was fun to see them sharing, helping, and laughing about some of their ideas!

Photobucket

Photobucket

Photobucket

after the adjectives were decided upon, it was time to cut out the clouds. i had taylor (age 10) and zachary (age 7) cut out their own clouds, but i pre-cut ben's (age 5) cloud anticipating that might be discouraging for him. he was mad i cut it for him.

Photobucket

after the clouds are cut, the kids get to pick one strip of rainbow for each letter of their first name. i allowed them to choose any colors they wanted. ben was a little upset that he only has three letters in his name, therefore only got to choose three colors for his rainbow. we remedied that by coming up with five more adjectives for the name benjamin. lucky us!  this did leave me wondering how many kids have cried doing this project because they didn't have as many rainbow colors as the next guy?

 Photobucket

next, we glued the rainbow strips to the cloud and then wrote the adjectives on the strips in name order. gluing the strips on first ensures that you won't accidentally write an adjective on the wrong side or cover the adjective partially when you glue the strips on. this is where the worksheet comes in handy!

Photobucket

finally, each kid wrote their name any way they wanted on the cloud. i encouraged them to write fancy, but some little boys are more interested in being done first than being fancy. :)

 here are our finished name-bow rainbows...

Photobucket

Photobucket

Photobucket

 we worked together to make a name-bow rainbow for little sister natalie, too. 

Photobucket

name-bow rainbows on display... so colorful and happy!

Photobucket

this project would make a sweet little homemade gift for someone. 
happy crafting!!