it's not that we are even that busy, but i guess being a family of six is just that... busy when you aren't even trying!
it's been hot here. not as crazy hot as it was two weeks ago, but hot enough that the only thing i want to do is take the kids to the pool and swim! and that's just what we do most days. ben has been working hard to learn how to swim without floaties this summer.
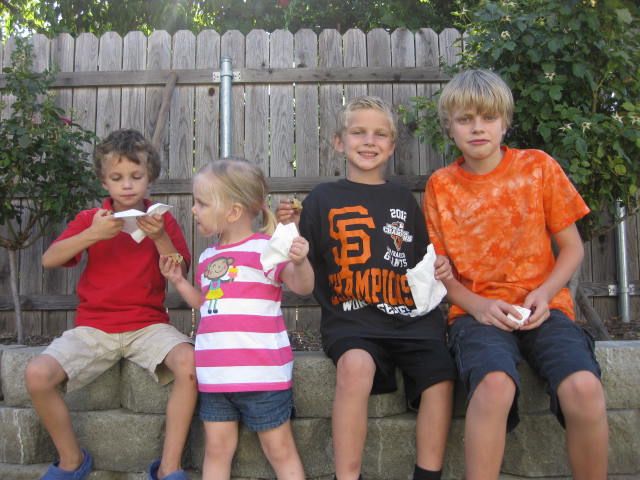
my little fishies...


we still try to fit in treat tuesdays, watercolor wednesdays, and craft thursdays. sometimes they don't happen on the right day, and obviously i don;t always blog about it, but we are still spending time together doing things that are meaningful and important to the kids.
last tuesday we made peach cobbler using peaches from a friend's tree. i think i want a peach tree. my neighbors have one and the peaches right off the tree... amazing! so delicious. now they have nectarines that look just about ripe and i'm crossing my fingers that some of the branches grow about an inch more so they are on our side of the fence. i love nectarines even more than peaches!
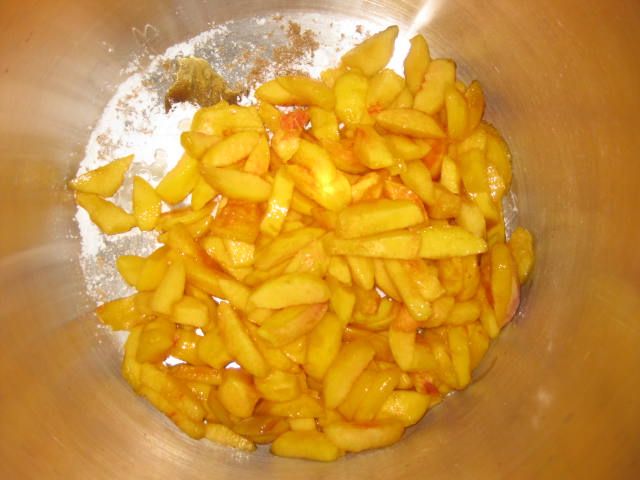
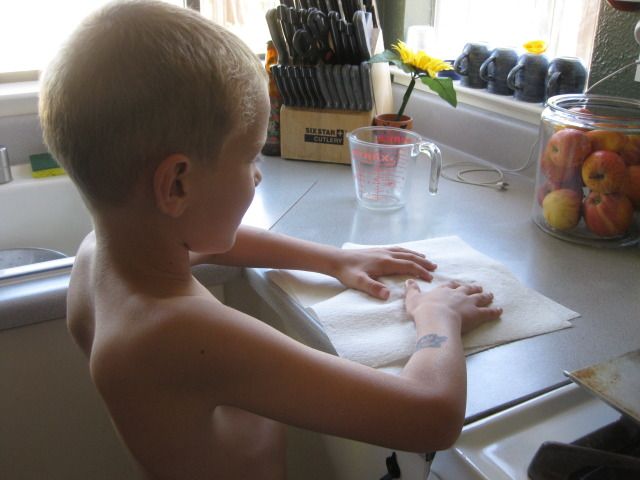
peaches cut with skin removed
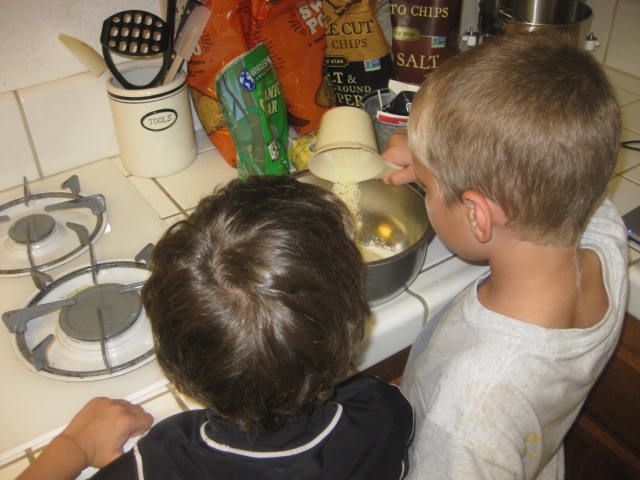
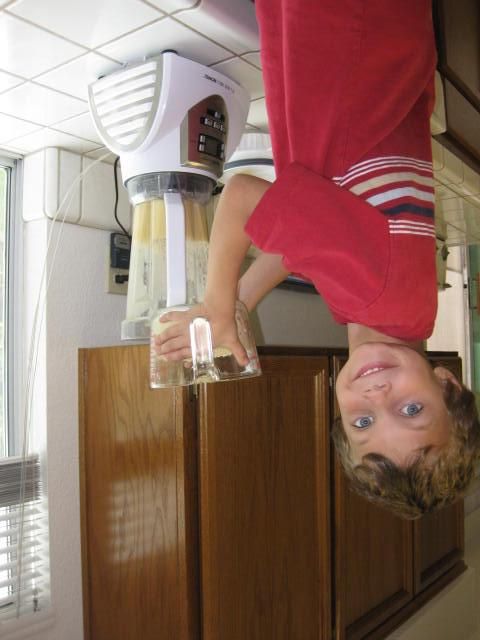
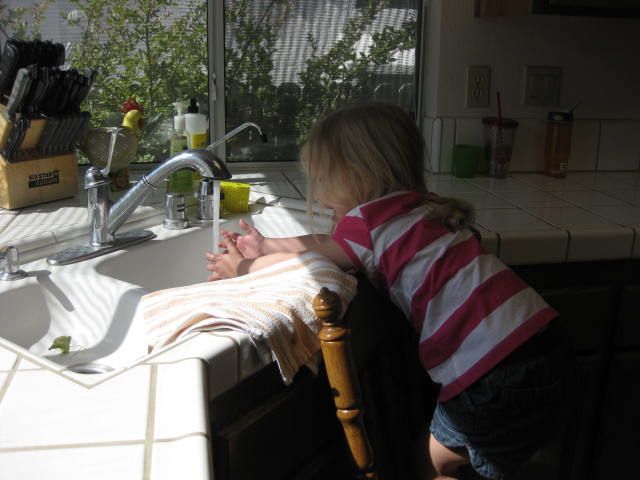
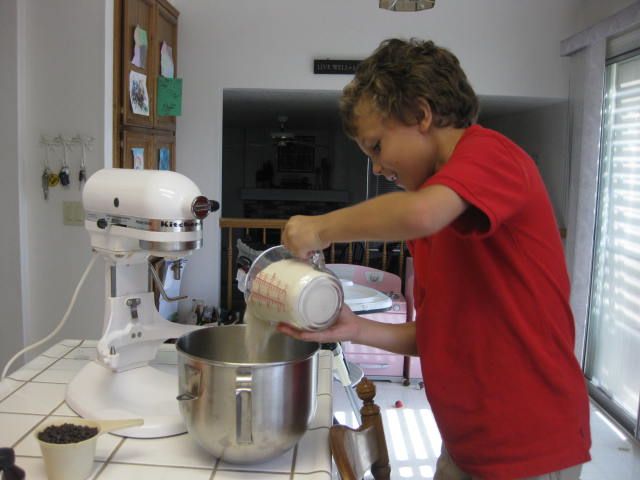
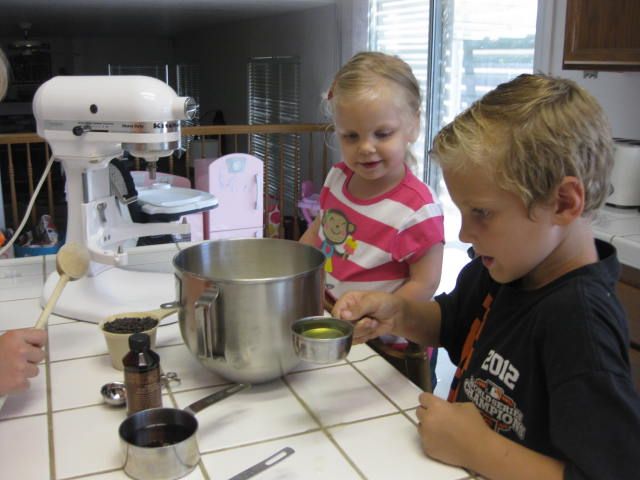
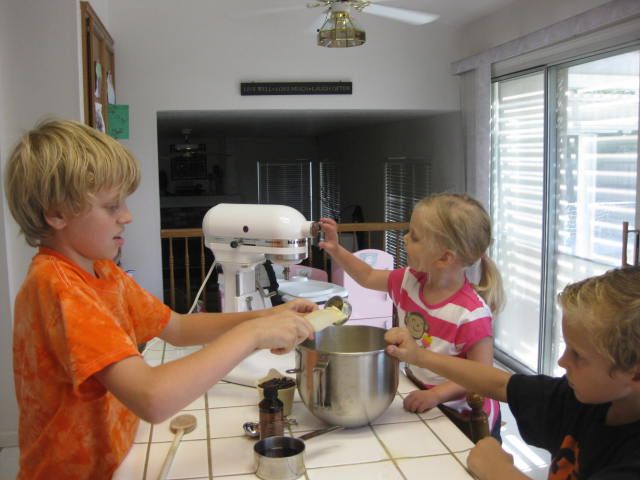
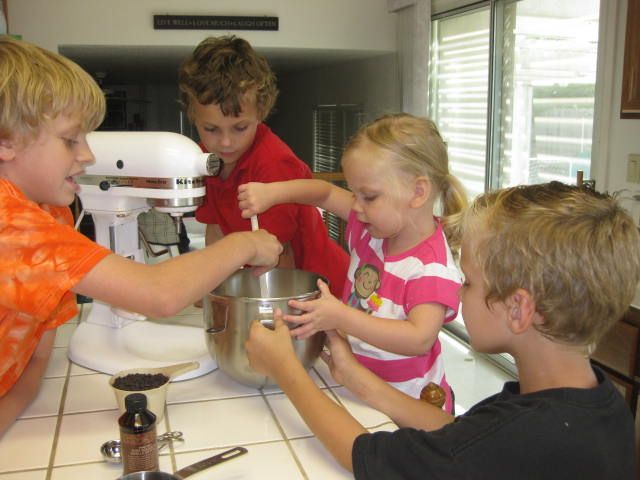
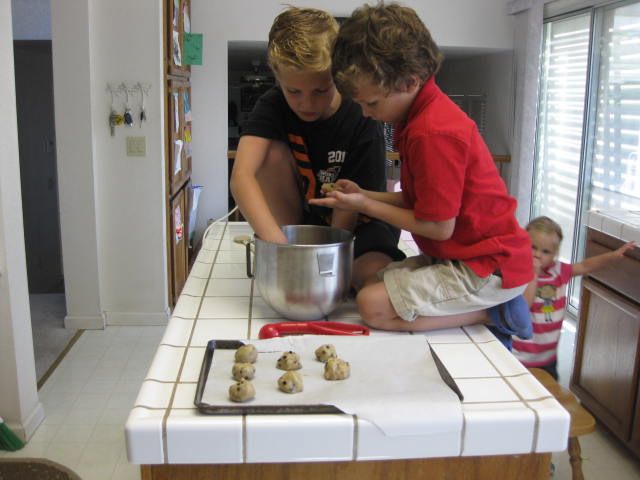
i love that my kids enjoy helping out in the kitchen
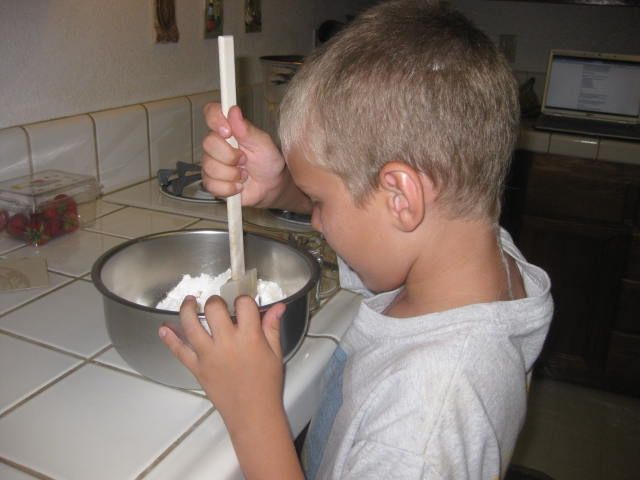
he's the only kid that didn't get kicked out of the kitchen though!
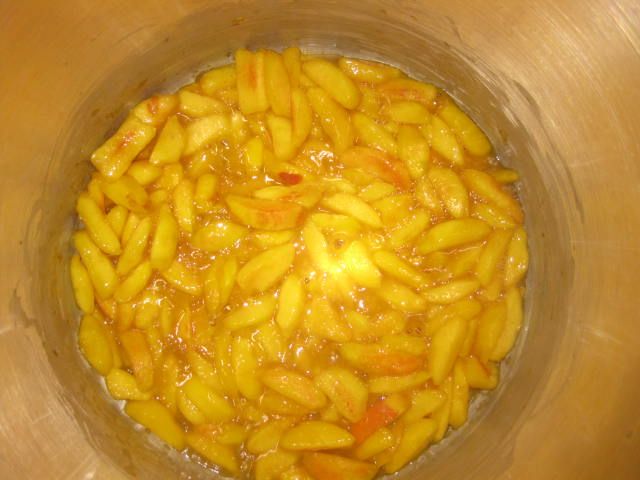
bubbling peaches in a pot
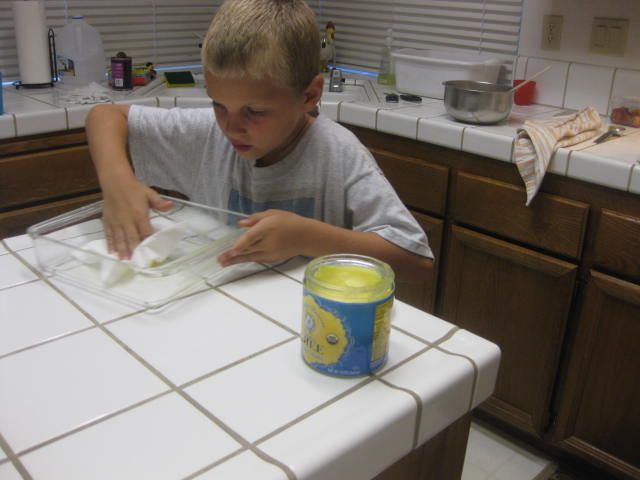
prepping the baking dish
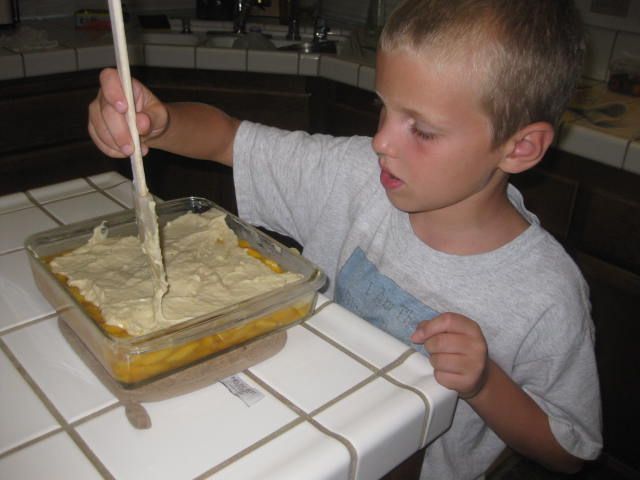
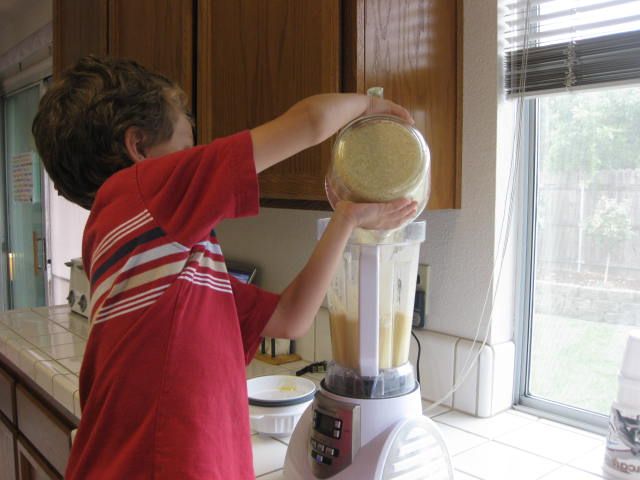
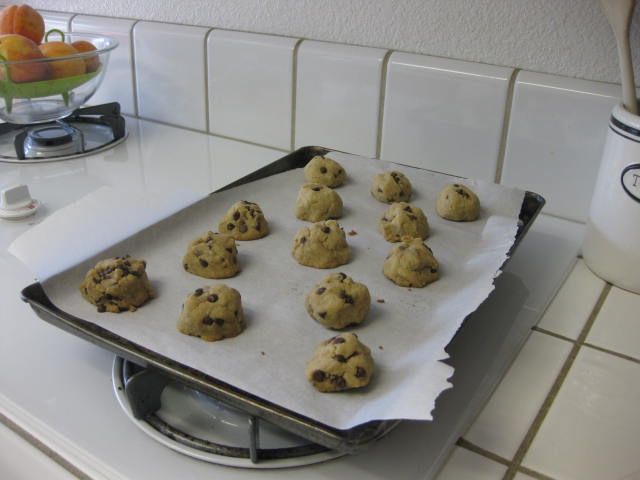
spreading the dough over the top

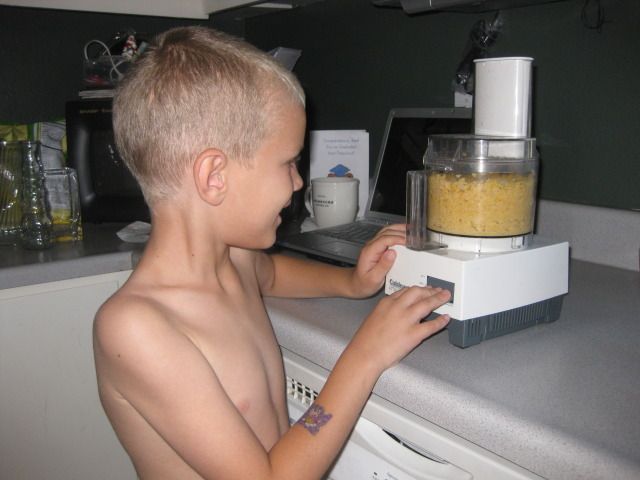
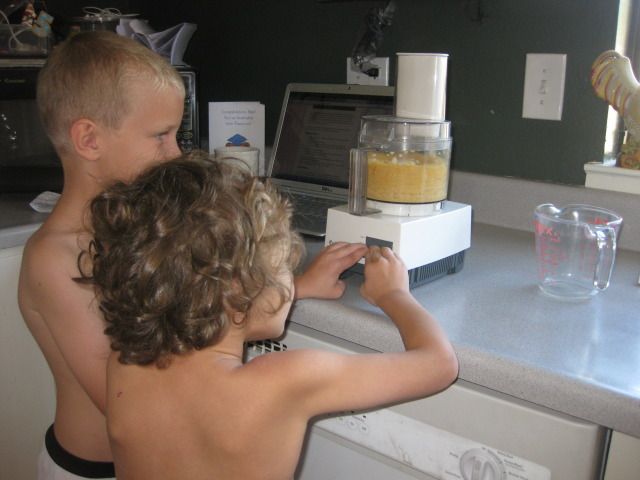
happy helper
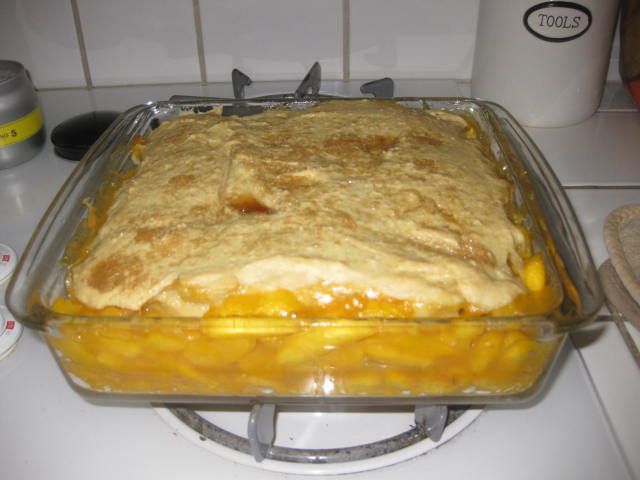
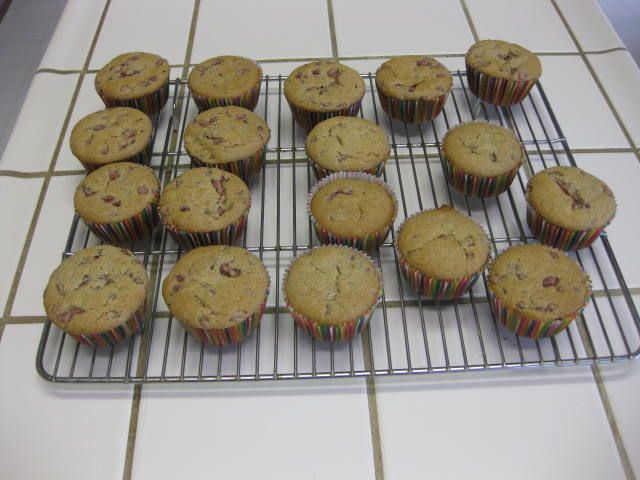
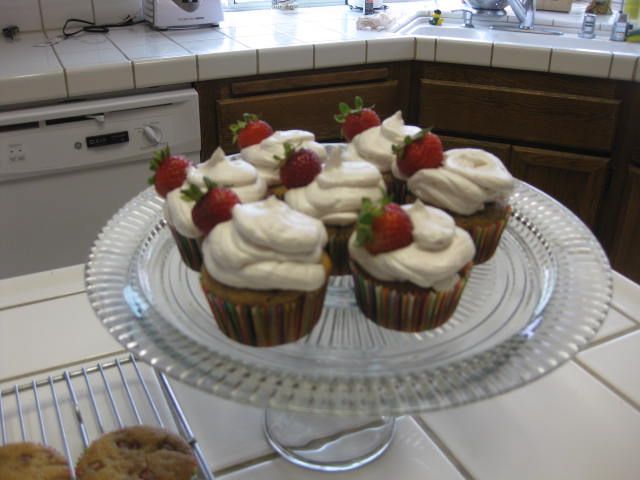
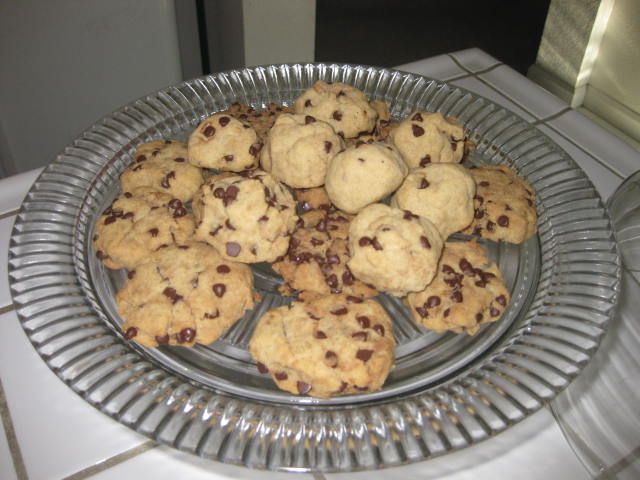
fresh from the oven
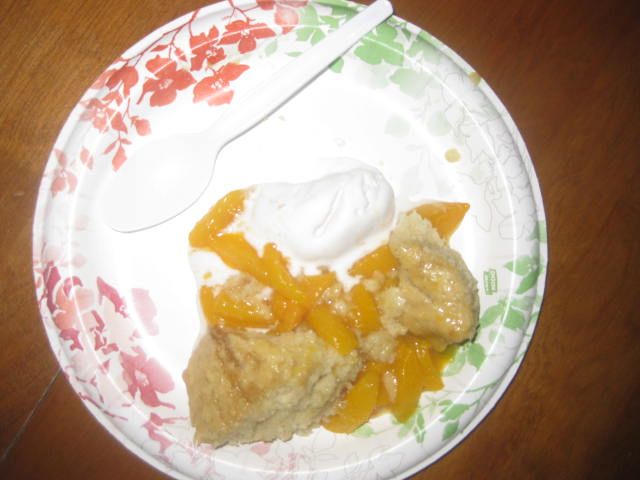
served with a scoop of vanilla coconut bliss
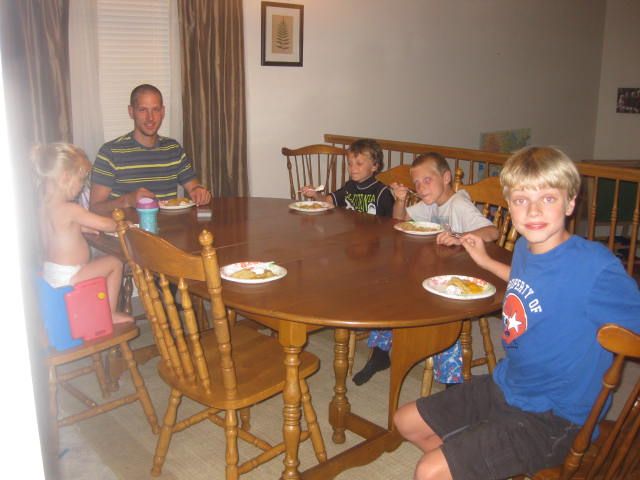
ready to dig in!
this recipe and many other tasty gluten free treats and recipes can be found at gluten free goddess.
Gluten-Free Peach Cobbler Recipe
Preheat the oven to 350ºF. Lightly grease an 8x8-inch baking dish or two large/four small individual gratin dishes.
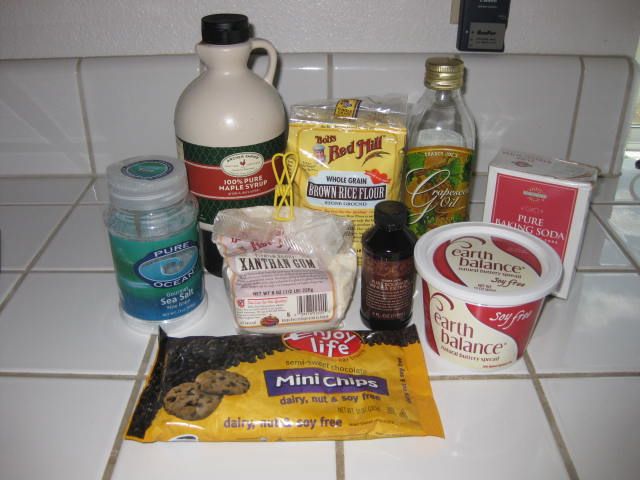
Ingredients:About 4 cups of sliced ripe peaches (peeled)
2 tablespoons organic light brown sugaror use raw agave nectar
2 teaspoons tapioca starch
Begin with the peaches:
Pour the sliced peaches into a pot and stir in the light brown sugar and tapioca starch till coated. Heat over medium heat until the peaches start to bubble a little around the edges. Turn the heat to low and cook for eight to ten minutes. This gives the peaches a head start in the baking department.
Meanwhile whisk together:
1 cup sorghum flour(also known as jowar flour) or brown rice flour
1/2 cup almond meal(also known as almond flour)
1/2 cup tapioca starch
1/2 teaspoon fine sea salt
2 teaspoons baking powder
1/2 teaspoon baking soda
1 1/2 teaspoons xanthan gum
1/2 cup organic cane sugar
1/2 teaspoon bourbon vanilla extract
Beat in:
6 tablespoons of light olive oil or melted vegan butter spread
1 egg replacer (I used Ener-G Egg Replacer)
1 1/4 to 1 1/2 cups unsweetened So Delicious Coconut Milk, or hemp, almond, or rice milk
The biscuit dough will come together quickly- don't beat it to death. Just till smooth. It should be a wee bit sticky (not too wet and not too dry) like a biscuit dough/batter.
Instructions:Spoon the hot peaches into the prepared baking dish.Read more: http://glutenfreegoddess.blogspot.com/2010/08/gluten-free-peach-cobbler.html#ixzz2Z9lGAdMR
Plop spoonfuls of the biscuit dough on top of the peaches.
Sprinkle with a little dusting of organic cane sugar.
Bake in the center of a preheated oven for 25 to 30 minutes, until the juices are bubbling, and the biscuit topping is golden brown and baked through. Cool for five to ten minutes before serving.
Serve warm.
Makes four servings.
the topping tasted like a muffin. it really puffed up and took over. we ran out of peaches way before we ran out of topping. most of us liked this best warm with ice cream. i would love to try the peach crisp she has posted, too.
see, i need a peach tree. :)