Showing posts with label kid crafts. Show all posts

Wednesday, July 3, 2013

watercolor wednesday

in the spirit of celebrating our country's birthday and freedom, today's watercolor activity comes from one of my favorite sites to find art projects for kids, both at home and in the classroom...

it's called art projects for kids!

it's funny, because the project was inspired by another one of my favorite artsy fartsy website, deep space sparkle. :)

the title of today's painting is "lady liberty." it's a simple portrait using lines and shapes. there are not a lot of details, so this was easy for all three of my boys (ages 6-11) to create. we did not do self-portraits, as the lesson suggests. instead we based our drawings on the real statue of liberty.

here's what you'll need:

 photo IMG_2242_zps56cc4ef5.jpg

in true teacher fashion i made a power point presentation, but started by letting my kids tell me what they already knew. they knew a lot--most of what i had in my ppt. but this is not a bad thing, because little ben didn't know much, so the big boys got to teach him and use my photos to connect that knowledge to something visual. they were really into it (thank goodness!) i have not actually been to see the statue of liberty, but the internet is a wealth of knowledge and resources. a simple search, some cutting and pasting, and wa-la!

i led the art lesson direct-draw style. next they had to trace the pencil lines with sharpie. then i gave the boys some directions and tips for watercoloring. finally it was time for them to paint. my favorite part!

 photo IMG_2243_zpscf1b22cf.jpg

 photo IMG_2244_zps441e2ab7.jpg

after our pictures dried we put them in dollar store picture frames. i didn't think about how the paper we used would be bigger than the 8x10 frame, so i had to trim them a bit first. poor lady liberty lost some of her shoulders and neck.

  photo IMG_2245_zps7f40cf87.jpg
from left to right: taylor, zach, ben

we wrapped these up and gave them to my mom as an early birthday present. i thought they would make for a sweet decoration hanging on the fence at her 4th of july swim party.

if you have kids, this would make for a fun and educational activity at your 4th of july festivities.

have you seen the statue of liberty in person?


Thursday, June 27, 2013

craft thursday #1: tissue paper luminaries


 i'm back today with another fun summertime activity!

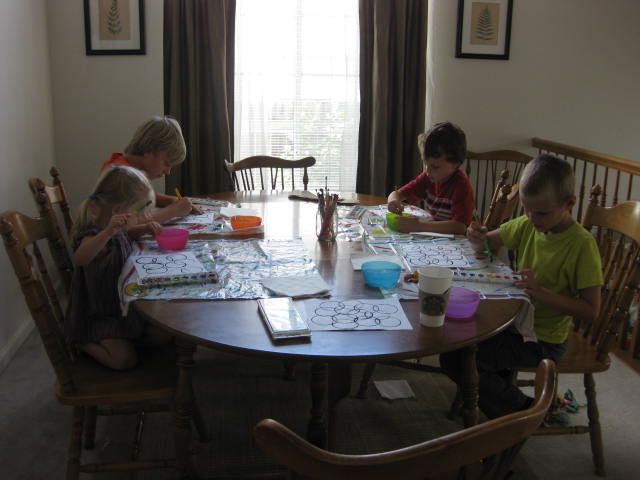
we had some friends over last thursday, which is craft day at this house. the kids were over the moon excited to have someone else to play with and i was very thankful to have another grown-up to talk with for a couple of hours. i know you know what i'm talking about!

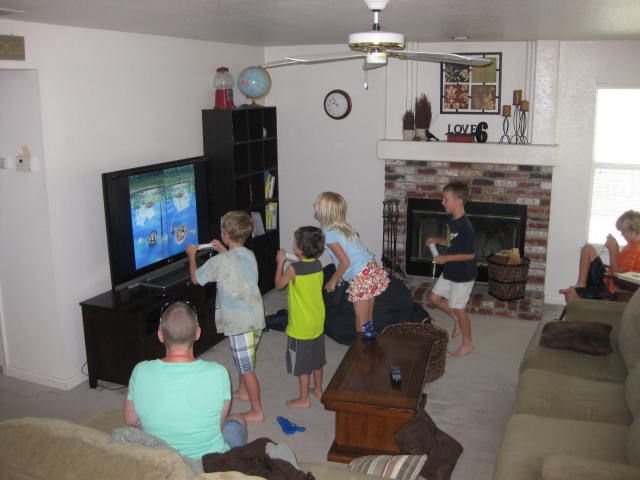
like lots of kids, my children love playing on the wii gaming system. i enjoy it, too. but sometimes it seems like that is all my kids want to do. "can i play on the wii?" when that question starts to sound like nails on a chalkboard, the answer is always "NO!" and usually "don't ask me again!"

our summer list, which i will share soon, has lots of fun activities, like craft thursdays, to help mix it up a bit. i'm fine with my kids playing wii as long as that isn't all they are doing.

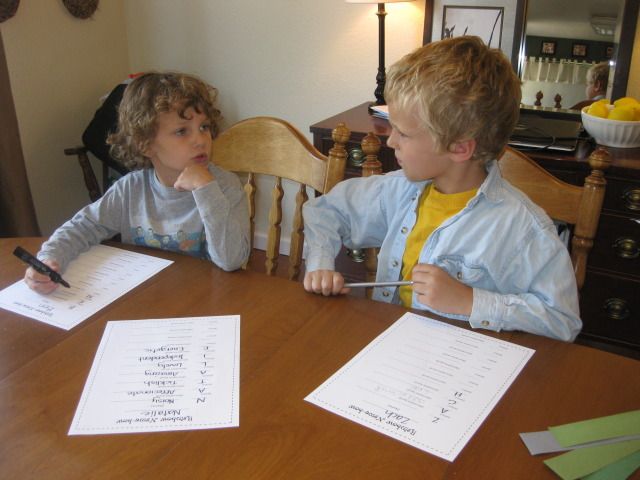
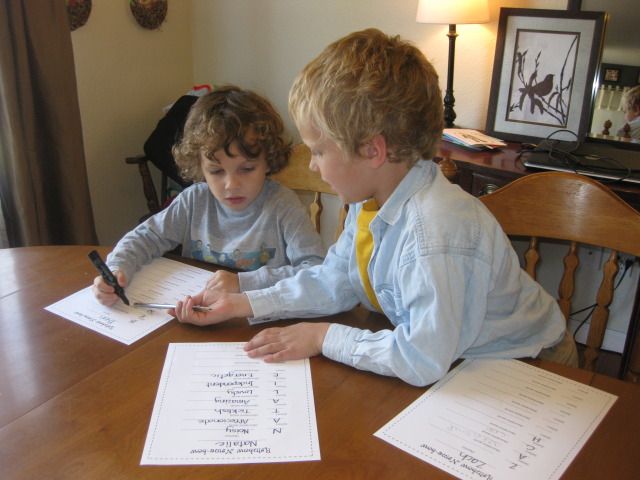
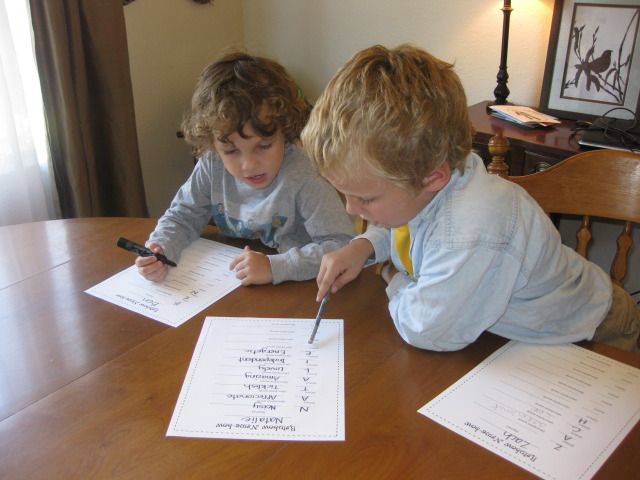
with our friends over, the kids broke into two teams and had a little healthy wii competition. this game had the kids sitting, standing, jumping, twirling, and all of us were laughing like crazy. it was a lot of fun!

 photo IMG_2004_zps47e1d8da.jpg

today's craft comes from four flights of fancy.

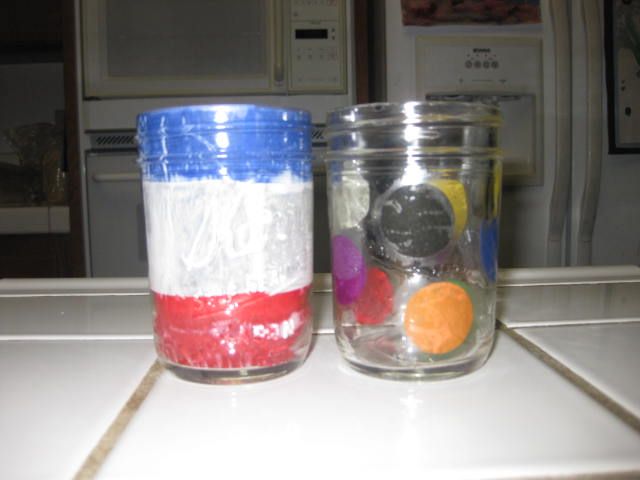
the link takes you to her "how-to" about making mason jar luminaries. the examples look very similar to my halloween mason jar luminaries, but are made with mod podge and tissue paper, instead of paint. the end result looks very similar when you are using a solid color, as in her examples. what caught my eye, was another picture of a mason jar luminary that i saw using tissue paper and mod podge, only the tissue paper was layered to create a patriotic decoration, so layers of red, white, and blue. you can view those luminaries at for the love of. i think they are beautiful. both links are to blogs that are written by the same person.

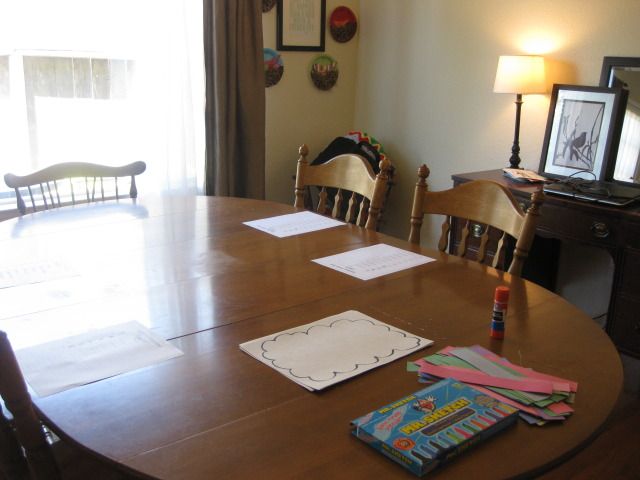
i thought creating tissue paper luminaries would be a fun craft to start the summer off with. and once again, i had everything on hand and didn't have to make any extra stops with my rowdy rugrats in tow. (and i mean that with a mama's sincerest love and affection).

we also had some friends join us for this craft and it was easy to pack up the finished luminaries and transport them home. 

to make the luminaries you will need the following:

 photo IMG_1971_zps7ac7282c.jpg

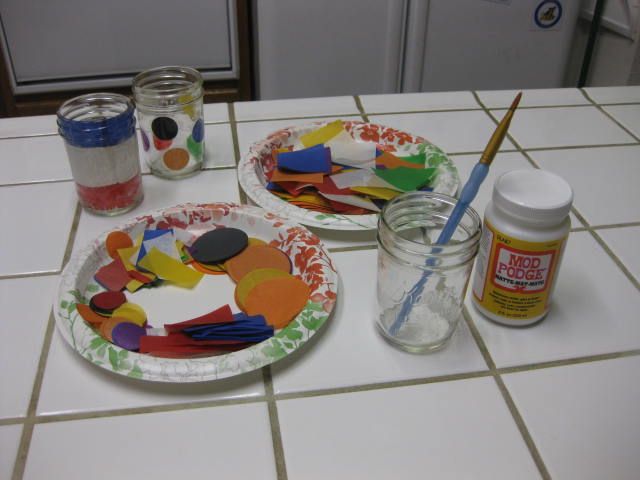
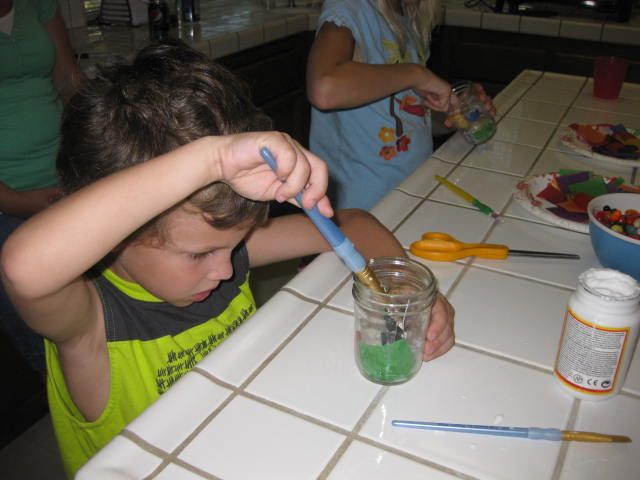
we used half pint jars with a regular mouth. these were two samples i made to show the kids that you could cover the whole jar or only part of it. i also find i need to do the craft first by myself, so i know how to best guide kids in crafting and i am better equipped to anticipate and help with areas that might be tricky.

  photo IMG_1970_zpscea83ff8.jpg
(not the best picture, sorry)

when i gave the directions to the kids, i made sure to emphasize the two most important rules (after i remembered what they were!):
  1. use minimal mod podge--you don't want a drippy, cloudy mess
  2. paint the glue only where you immediately need it--basically, paint as you go!
i do not think you can over-emphasize these, because chances are they are going to go in one ear and out the other!

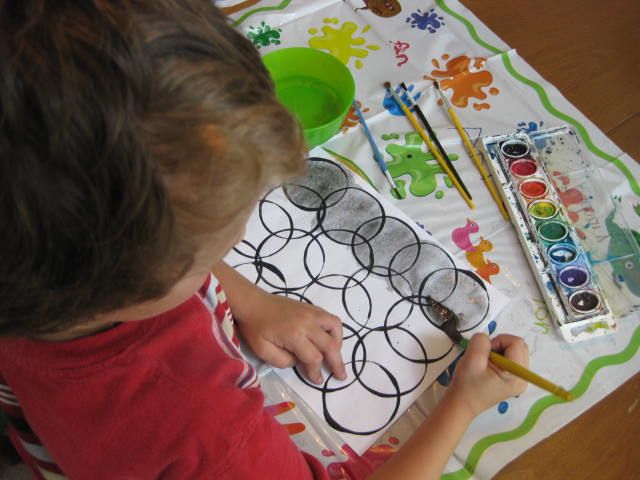
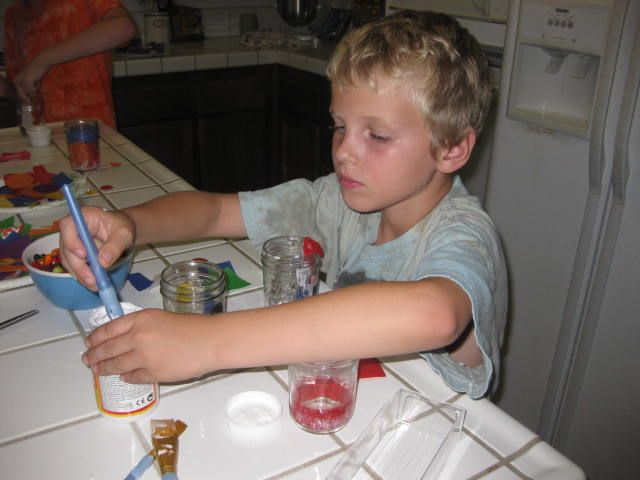
i also modeled how to paint and add tissue paper. my sample jar with red, white, and blue was only half way complete, so i modeled adding to that. just a quick little demo, because i had anxious crafters waiting!

 photo IMG_1998_zps743ae2b5.jpg

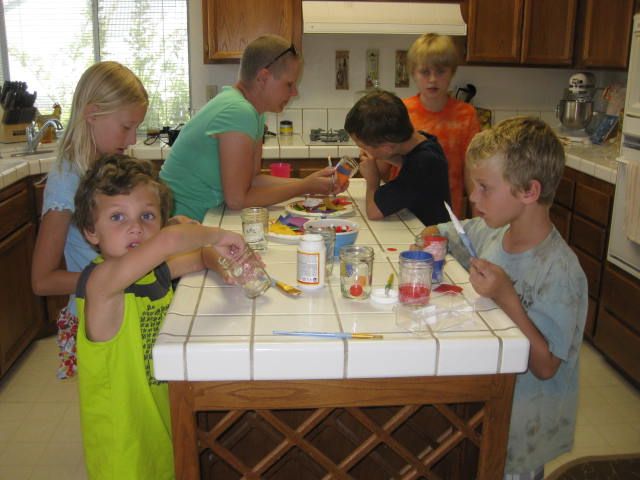
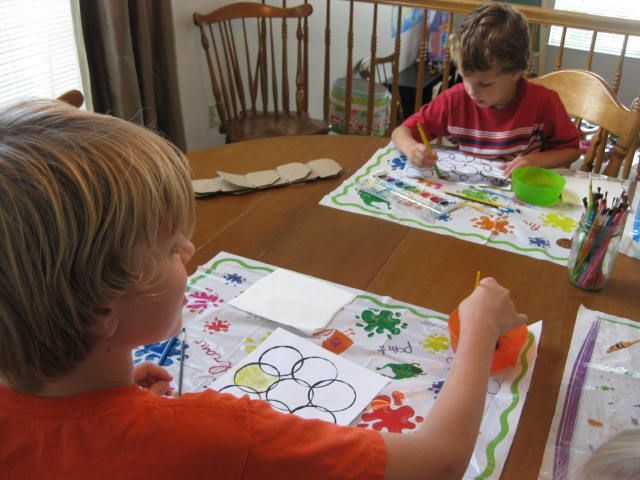
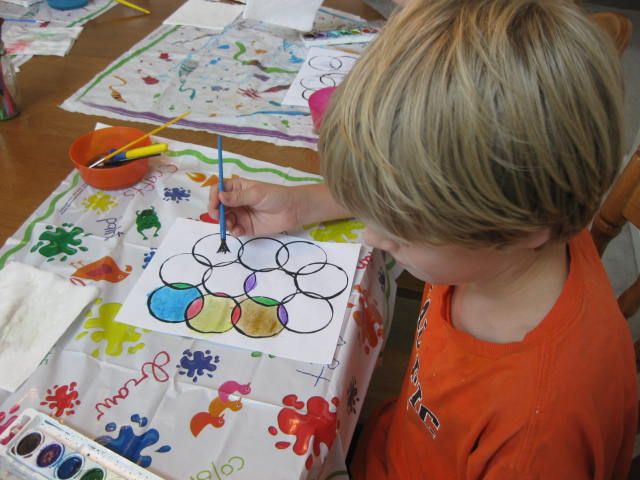
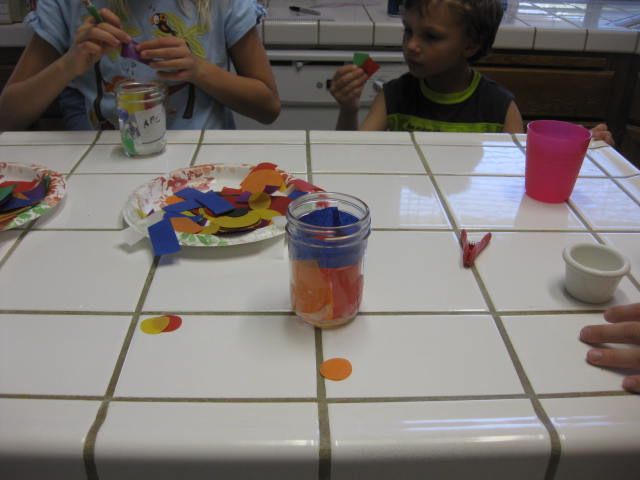
the kiddos were free to make what they wanted. we talked about who they were making this for--was it a gift or for their own house? what colors did they want to use? if it was for someone, did they want to choose colors that person liked or did they want to go with a theme? i really wanted the kids to have fun with their crafting, but to also be intentional with their planning and creating.

 photo IMG_1999_zps68fdc5bb.jpg

 photo IMG_2000_zps4e9804a0.jpg

 photo IMG_2001_zpsde243815.jpg

 photo IMG_2002_zps6d5cc0dd.jpg

 photo IMG_2003_zpsd5d1815f.jpg
(loudon was done so quickly, i didn't get a picture of him!)

in the end everyone made a luminary for themselves. some were a little more intentional with their planning and creating than others. :)

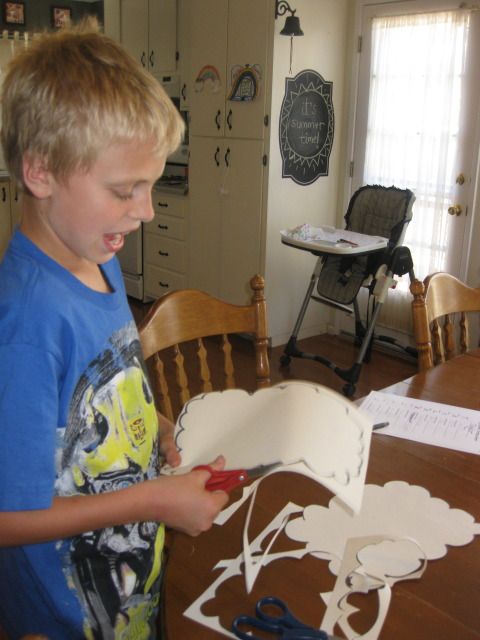
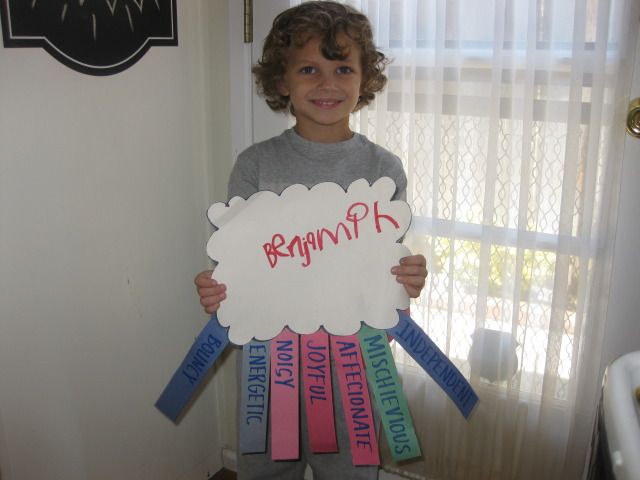
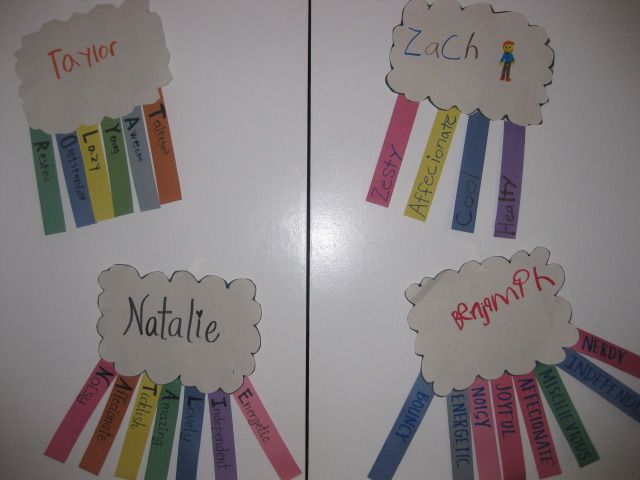
bristol cut out shapes from the tissue paper to make items that represented hobbies her family members have. loudon used only his favorite colors. taylor, zach, and ben just picked different shapes and colors and glued them on. zach covered the jar, taylor and ben left spaces.

no matter, i enjoyed watching the kids working on something other than getting to the next level in a video game!

if you are nervous about putting a candle in these, you could use the battery-operated candles. I saw a photo somewhere of this same type of craft, but they painted the metal lids of the mason jar with acrylic paint and closed the top. inside were battery-operated candles and the result was very pretty... like a stained glass lantern.

what kind of luminary would you make?

Wednesday, June 26, 2013

watercolor wednesday

this summer we've added a new activity to our calendar. welcome to watercolor wednesday!

 photo IMG_2110_zpsce797896.jpg

i love watercolors. they are so simple to use and easy to clean up. i find that when we watercolor, it's such a stress free activity that i can actually sit down and watercolor with my kids. i call this watercolor therapy, because when we are done, we are all happy and relaxed! well, maybe we are just happy :)

watercolor projects are easy to find. a quick search on pinterest and you will be up to your eyeballs in lovely, fun, color. this was by far the easiest list to make when planning our summer activities.

today's project comes from my favorite blog, where i get most of my ideas and inspiration... whatever. when i saw this on pinterest, i had already bookmarked a different circle painting project, but i liked meg's much better, so we went with it.

it was fairly easy to set up. i only have small sheets of watercolor paper, so i prepped enough paper for the boys to each make two. i used the rim of a half pint mason jar, watered down black acrylic paint, and a paint brush to make the black circles. i just painted and stamped, painted and stamped. i'll admit, i was a little stressed in the beginning... smudged lines, paint splatters, incomplete circles... but it's art and it's all good. soon i was in a groove and enjoying this part of the process.

while the paint circles dried, we made a starbucks run. i may or may not have had paint splatter in my left nostril, unnoticed until after we got home.

the kids were very happy to sit and watercolor.

 photo IMG_2113_zpse6b07d37.jpg

 photo IMG_2115_zps13b82961.jpg

 photo IMG_2116_zps7dc41023.jpg

 photo IMG_2117_zps6d46da45.jpg

 photo IMG_2120_zps09df8439.jpg

they like watercoloring as much as i do. in fact, natalie goes a little crazy for the watercolors. the boys were having a (mostly) nice discussion with each other and natalie starts taking my supplies and when i tell her no, those are mine and i point to hers, she demands i give mine to her saying "that's not a good choice mom!" when i don't give in, my sweet two year old called me "stinky." seriously?! i wish i were kidding.

 photo IMG_2122_zpsbb58427b.jpg


all in all, watercolor wednesday was a hit, it's always fun to see how everyone creates such different pieces, even when the canvas is so similar.

 photo IMG_2127_zps292070c2.jpg
ben's pictures

 photo IMG_2128_zps9cd1cd3c.jpg
zach's pictures

 photo IMG_2129_zps45992e70.jpg
taylor's pictures

 photo IMG_2130_zps04a49a5d.jpg
the girls' pictures

 photo IMG_2131_zps6a34f3b8.jpg
beautiful colors

i hope you will be inspired to add a little color to your life today!

Thursday, June 21, 2012

summer 2012: craft thursday #1, name-bow rainbow

happy thursday everyone!

today's craft was discovered on another one of my favorite websites, teachers pay teachers. if you are a teacher or a parent looking for supplemental educational materials and you have not yet checked this site out, summer is the perfect time! you can find inexpensive lessons, units, art projects... you name it, all created by someone else and ready to go. i love that you are buying only what you need, you have as any downloads as you want, most everything is based on common core, and stuff is super cute! i've been very happy with all twenty something of my purchases.

back to our craft for today. i saw name-bow rainbow (or rainbow name-bow, if you prefer) on teachers pay teachers. it cost $1.50, but with a little elbow grease (as in creating your own cloud tracer and acrostic name worksheet) the idea could easily be duplicated without purchasing the project. but i will give credit where credit is due. this was not my original idea. it came from reagan turnstall at turnstall's teaching tidbits. here's the link to her teachers pay teachers activity page if you are interested in buying this activity or if you want to check out her other projects for sale.

you will need: colorful construction paper cut into strips, cloud templates, markers, gluestick

Photobucket

it's not needed, but you may want: a worksheet for listing adjectives (descriptive words). i made this one using microsoft word.

Photobucket

the idea of name-bow rainbow is simple. students (the lesson actually suggests having parents do this) come up with an adjective that starts with each letter of their first name. each adjective should describe the child in some way. this is called an acrostic poem. for younger kids this can be the most difficult part, which is probably why it was suggested to have parents do this part. with a little help, all three boys were able to come up with words for each letter of their name. i googled a list of adjectives listed in alphabetical order and had this open on my desktop as a resource for when we were all stuck. we learned there are not many "nice" adjectives for the letter n. ha! the kids filled out a little worksheet (see above) to help them keep track of and organize their adjectives.


here is a photo of the work area all set up. not much to it, but in my experience, crafting is happier when everything is ready to go.

Photobucket

before we began, i explained what the kids would be doing and showed them a sample, then they went to work. i walked around the table and helped as needed. thankfully my cutie pie natalie kept herself busy with other fun activities, like army men in a box! 

Photobucket

Photobucket

first, the kids brainstormed and decided upon an adjective for each letter of their first name. it was fun to see them sharing, helping, and laughing about some of their ideas!

Photobucket

Photobucket

Photobucket

after the adjectives were decided upon, it was time to cut out the clouds. i had taylor (age 10) and zachary (age 7) cut out their own clouds, but i pre-cut ben's (age 5) cloud anticipating that might be discouraging for him. he was mad i cut it for him.

Photobucket

after the clouds are cut, the kids get to pick one strip of rainbow for each letter of their first name. i allowed them to choose any colors they wanted. ben was a little upset that he only has three letters in his name, therefore only got to choose three colors for his rainbow. we remedied that by coming up with five more adjectives for the name benjamin. lucky us!  this did leave me wondering how many kids have cried doing this project because they didn't have as many rainbow colors as the next guy?

 Photobucket

next, we glued the rainbow strips to the cloud and then wrote the adjectives on the strips in name order. gluing the strips on first ensures that you won't accidentally write an adjective on the wrong side or cover the adjective partially when you glue the strips on. this is where the worksheet comes in handy!

Photobucket

finally, each kid wrote their name any way they wanted on the cloud. i encouraged them to write fancy, but some little boys are more interested in being done first than being fancy. :)

 here are our finished name-bow rainbows...

Photobucket

Photobucket

Photobucket

 we worked together to make a name-bow rainbow for little sister natalie, too. 

Photobucket

name-bow rainbows on display... so colorful and happy!

Photobucket

this project would make a sweet little homemade gift for someone. 
happy crafting!!


Thursday, July 28, 2011

craft thursday #4: dancing cows

UPDATE
i forgot to credit my source for the dancing cow idea. i found this project at deep space sparkle. it's listed in the1st grade project section and i am totally planning on doing this with my first graders, too

to make dancing cows you will need:

Photobucket

first, we dressed in cow costumes and spent some time crawling around in the backyard grass. just kidding. we did begin with a game of freeze dance though. if you are not familiar with freeze dance, you play music, move to the music, stop the music and freeze. as we stood there frozen, we examined the position of our bodies--where our hands were placed, were both hands pointing in the same direction, were both feet on the ground, were our torsos twisted or bent? then we danced, froze, and examined again. i challenged the boys to come up with a new pose each time.

Photobucket

Photobucket

Photobucket

next i directed the boys in drawing a cow. we practiced using pencil and paper. when they were comfortable drawing a dancing cow, i gave them a black oil pastel and they drew their cow with that. we talked about coloring in the spots fully to make them pop. they could add details in the background or not. finally we painted using watercolors.

Photobucket

Photobucket

Photobucket

Photobucket

Photobucket

Photobucket

it was a fun project and once the kids got going, they worked at their own pace and did their things. i love the way they turned out.

Photobucket
zachary

Photobucket
benjamin

Photobucket
taylor

seriously, who wouldn't love a dancing cow picture framed in their kitchen? so cute!